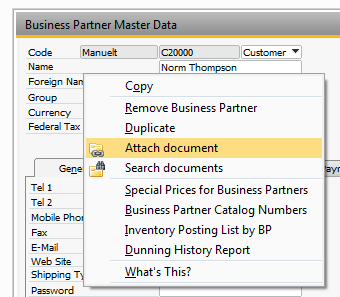
You can access the attach-window by right-clicking on one of the following windows:
- Journal Entry
- Sales Opportunity
- All sales and purchase documents
- Business Partner
- Item Master Data
- Activity
- Production Order
- Incoming and Outgoing payments
- Service Call
- Employee Master Data
The window displays as follows:
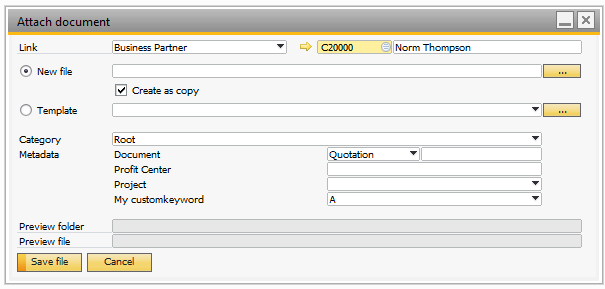
The first thing to decide upon is whether to link the document to a business partner or an item. Next, choose the business partner or item. When this is done, is possible to choose either a new file or to attach an existing template. If a new file is selected, you can create a copy of the file or move the file into the destination folder. The file will be saved in the folder shown in the “Preview folder”-textbox with the file name displayed in the textbox just below. Choose a category to store the file in that categories folder or select root to place the file in the BP/Item root folder. Choose values for the keywords you want to associate the file with. In the example below, the file is associated with a project and a sales quotation.
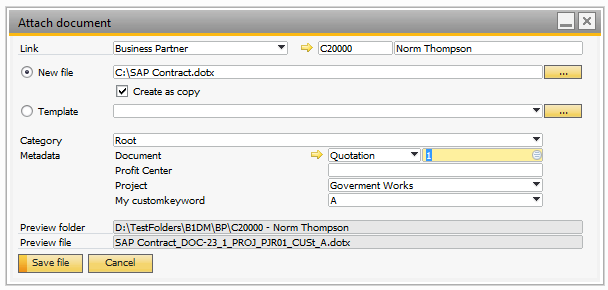
When searching for files associated with the Norm Thompson and the project “Government Works”, the file will be displayed in the search result.
Press “Save file” to save the file.
If you want to attach a file from a template, select the template from the list.
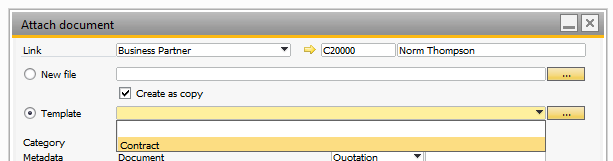
If no templates are displayed, it is because none are defined. To administer templates, press the button labeled “…” next to the list. See “Templates administration” for details. Files created from templates are always created as copies of the original template.