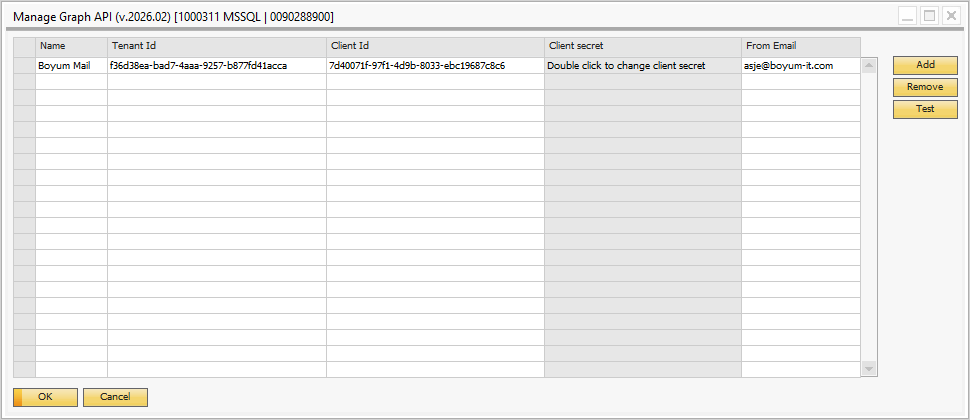
Graph API configurations can be added, removed or tested from this menu.
Graph API configurations require you to register an app on portal.azure.com.
Column |
Description |
|---|---|
Name |
Name of the configuration, this will be shown in the lists of Graph API configurations in the Report Action form for the Email actions |
Tenant Id |
Tenant Id of your Azure App Registration |
Client Id |
Client Id of your Azure App Registration |
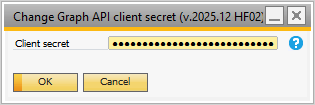
Client Secret |
Client secret of your Azure App Registration, double click the field to open the form for changing the client secret
|
From Email |
The email address that emails sent using this configuration will be sent from |
To register an App on portal.azure.com:
1.Go to portal.azure.com.
2.Go to App Registrations.
3.Click "New registration".
a.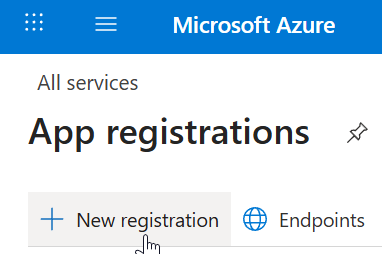
4.Enter a name.
5.Select account type.
6.Click register and you will be redirected to the new app.
7.You will find the tenant and client Id on the Overview screen.
8.To a add secret to the app, go to Manage > Certificates and secrets on the menu on the left side of the screen.
a.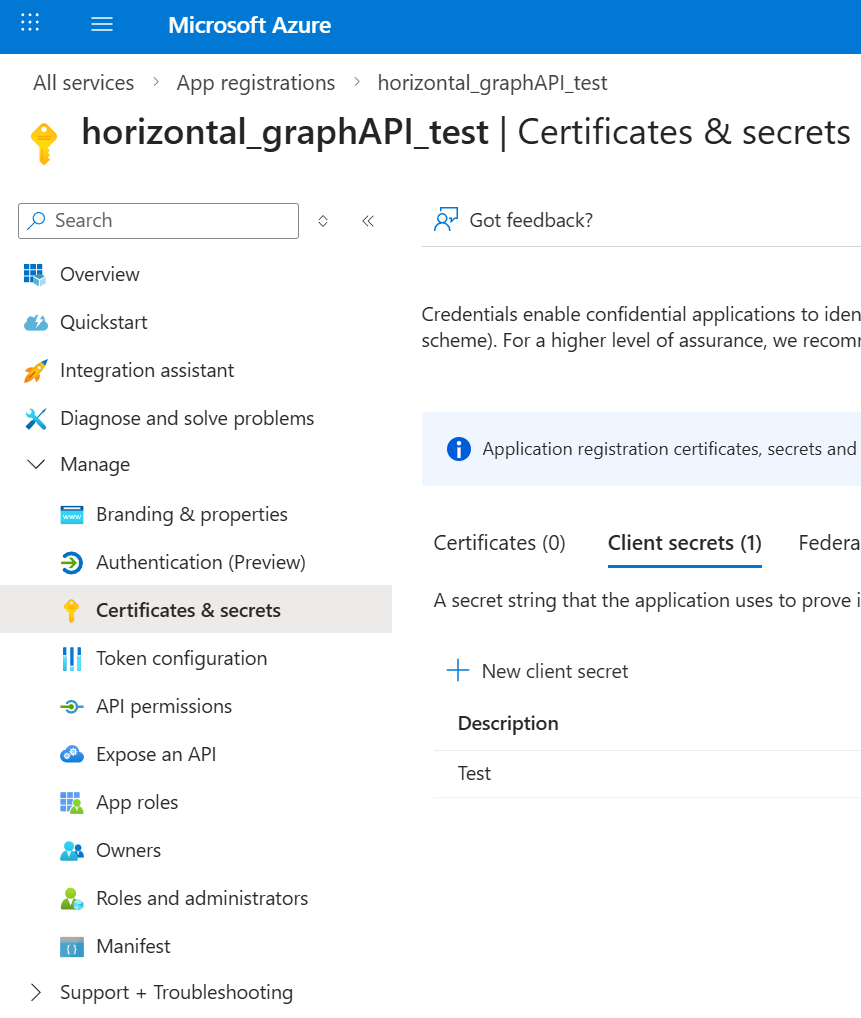
9.Click "New client secret" and a sidebar will open where you can enter description and expiration date.
10.When you click "Add" on the sidebar you will get a new line detailing the secret with the description you entered, the expiration date, the value and the secret Id.
a.This value is the client secret.
b.MAKE SURE TO COPY THE VALUE AND STORE IT SOMEWHERE SAFE, YOU WILL NOT BE ABLE TO SEE IT AGAIN AFTER NAVIGATING AWAY FROM THE PAGE OR CLOSING IT.
c.A text file or an email is not somewhere safe. A key vault is.
After adding your secret, you need to add permission for your app to send emails, to do this go to "API permissions", two down from "Certificates & secret" in the menu on the left.
This is required for scheduled email sending and non-personal email sending.
1.Click "Add a permission" which will open a sidebar on the right.
2.In the sidebar, under Microsoft APIs, choose "Microsoft Graph".
3.Then choose "Application permissions".
4.Then "Mail" followed by checking the checkboxes for "Mail.Send" and "Mail.ReadWrite".
a.Mail.Send is required for sending emails.
b.Mail.ReadWrite is required for creating drafts.
5.Once the permission has been added you will need to get admin consent for the app to use the permission by somebody in your organization with Azure admin privileges.
In order to use personal email you also need delegated add permissions but do not require admin permission.
This is also done in the "API permissions" menu.
1.Click "Add a permission" which will open a sidebar on the right.
2.In the sidebar, under Microsoft APIs, choose "Microsoft Graph".
3.Then choose "Delegated permissions".
4.Then "Mail" followed by checking the checkboxes for "Mail.Send" and "Mail.ReadWrite".
a.Mail.Send is required for sending emails.
b.Mail.ReadWrite is required for creating drafts.
Once the above has been done you can copy the tenant ID, client ID and client secret to your Graph API configuration in SAP B1 and use the test button to verify that it works.
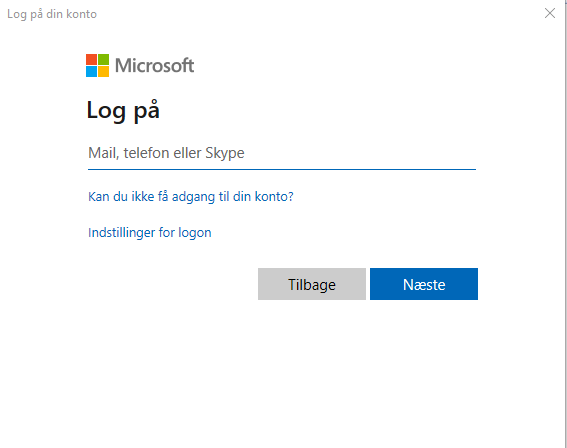
If you are using personal email you still be prompted with a microsoft login the first time you attempt to send an email.